Hooping fabric correctly is one of the most important steps in machine embroidery, especially for beginners. Improper hooping can lead to puckering, hoop burn, fabric shifting, or stretched fabric, all of which affect the final quality of your embroidery. This guide will walk you through how to hoop fabric for machine embroidery in a practical, straightforward way to help you achieve smooth, professional-looking results every time.
Understanding the Importance of Proper Hooping
Before diving into the steps, it’s important to understand why hooping matters. The hoop holds your fabric and stabilizer taut and in place while the machine stitches. If the fabric is too loose, it can shift or wrinkle, causing puckering. If it’s too tight, it can stretch the fabric or leave hoop burn marks. Proper hooping balances tension to keep the fabric stable without damage.
Choosing the Right Hoop Size and Type
Select a hoop size that fits your design comfortably with some margin around the edges. Using a hoop that’s too small forces you to stretch the fabric, while a hoop that’s too large may not hold the fabric firmly. Also, consider the hoop type—plastic hoops are gentler on delicate fabrics, while metal hoops offer more rigidity for heavier materials.
Preparing Your Fabric and Stabilizer
Start by washing and ironing your fabric to remove wrinkles and shrinkage. Choose the appropriate stabilizer based on your fabric type and design complexity—this helps prevent puckering and shifting during stitching. Attach the stabilizer to the back of your fabric using temporary adhesive spray, tape, or by hooping both layers together, depending on your project.
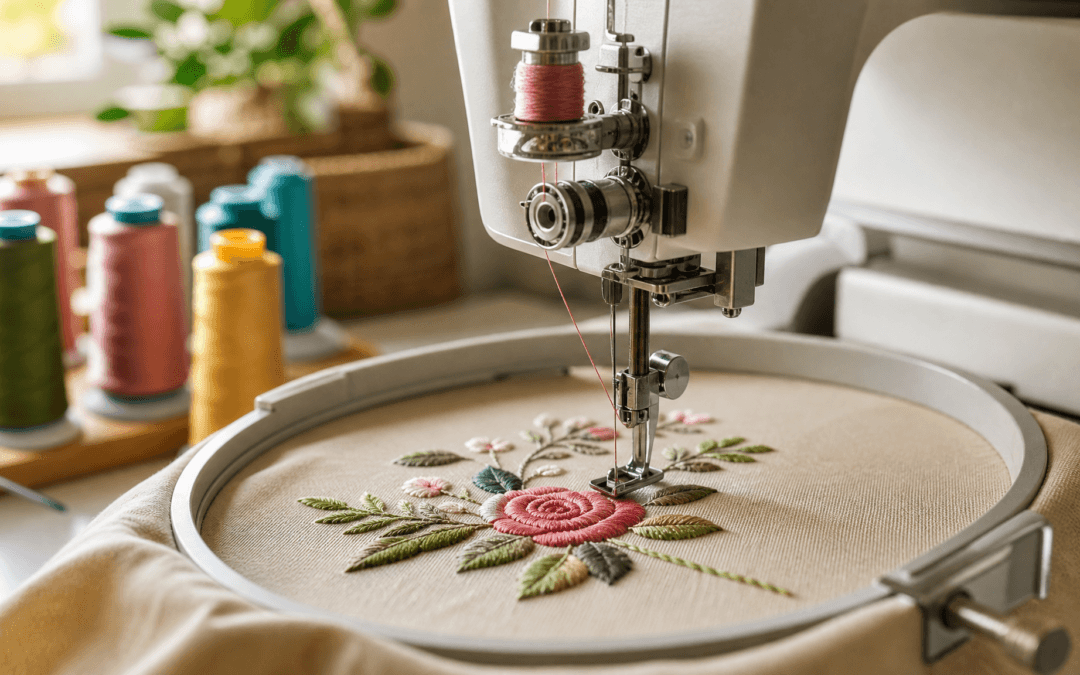
Step-by-Step Guide: How to Hoop Fabric for Machine Embroidery
Follow these steps carefully to hoop your fabric correctly:
- Loosen the outer hoop: Separate the inner and outer hoops by loosening the screw or latch.
- Place the fabric and stabilizer: Lay your fabric and stabilizer smoothly over the inner hoop, ensuring the area to be embroidered is centered.
- Fit the outer hoop: Press the outer hoop down over the fabric and inner hoop, making sure the fabric is taut but not stretched.
- Check tension: Gently pull the fabric edges around the hoop. It should feel like a drum—tight enough to prevent shifting but not so tight that it distorts the fabric.
- Tighten the hoop screw: Secure the outer hoop by tightening the screw or latch firmly, then re-check the fabric tension.
- Trim excess fabric: If needed, trim excess fabric and stabilizer around the hoop to avoid interference with the machine.
Tips to Avoid Common Hooping Problems
- Prevent puckering: Use the right stabilizer and avoid over-tightening the hoop. Also, ensure your fabric is pre-washed and ironed flat.
- Avoid hoop burn: Don’t leave fabric hooped for long periods before stitching, especially delicate fabrics. Use plastic hoops for sensitive materials.
- Stop fabric shifting: Use temporary adhesive sprays or tape to secure fabric and stabilizer if needed.
- Prevent stretched fabric: Avoid pulling fabric excessively when hooping. The fabric should be taut but relaxed enough to maintain its natural shape.
Checking Your Setup Before Starting Embroidery
Once your fabric is hooped, double-check the placement of your design area and fabric tension. Rotate the hoop gently to ensure the fabric doesn’t shift. If your machine has a basting stitch option, consider using it to secure the fabric before the main embroidery. This extra step can help reduce puckering and shifting during stitching.
Removing Fabric from the Hoop Safely
After embroidery, carefully loosen the hoop screw and separate the hoops. Avoid pulling the fabric out abruptly to prevent distortion. If hoop burn or marks are visible, gently steam or press the fabric to restore its appearance.