Beginners often think stabilizer is optional or “just another supply.” In reality, it is the foundation of every embroidery project. Pick the wrong stabilizer and it does not matter how good your machine, thread, or design is — the result will pucker, shift, or look unprofessional. Here are the most common stabilizer mistakes we see beginners make, organized by fabric type, with specific fixes.
Mistake 1: Using One Stabilizer for Everything
The most common beginner mistake is buying a single roll of tear-away stabilizer and using it on every project. Tear-away stabilizer works well on stable woven fabrics like cotton and denim — it tears cleanly after stitching. However, on stretchy fabrics (jersey, spandex, performance wear), tear-away does not provide enough support during stitching, and the fabric stretches and distorts as the needle penetrates. After tearing away the stabilizer, the design puckers because the fabric relaxed back to its unstretched state.
The fix: Match stabilizer type to fabric type. Here is a quick reference:
| Fabric Type | Recommended Stabilizer | Why |
|---|---|---|
| Cotton, linen, denim (woven, no stretch) | Medium tear-away | Fabric is stable — stabilizer just prevents shifting during stitching |
| Jersey, spandex, performance knits | Cut-away (permanent behind design) | Stretch fabric needs permanent support to prevent distortion even after washing |
| Towels, fleece, plush fabrics | Water-soluble topper + tear-away base | Topper keeps stitches from sinking into the nap; base provides foundation |
| Sheer fabrics (organza, tulle) | Water-soluble (wash-away) only | Any visible stabilizer ruins the look — it must dissolve completely |
| Leather and vinyl | Adhesive-backed tear-away or no stabilizer | Cannot hoop these materials without damage; adhesive stabilizer avoids holes |
| Hats and caps | Heavy cut-away or cap-specific backing | Curved surface + heavy stitch count needs permanent structural support |
Mistake 2: Hooping Stabilizer Incorrectly (or Not at All)
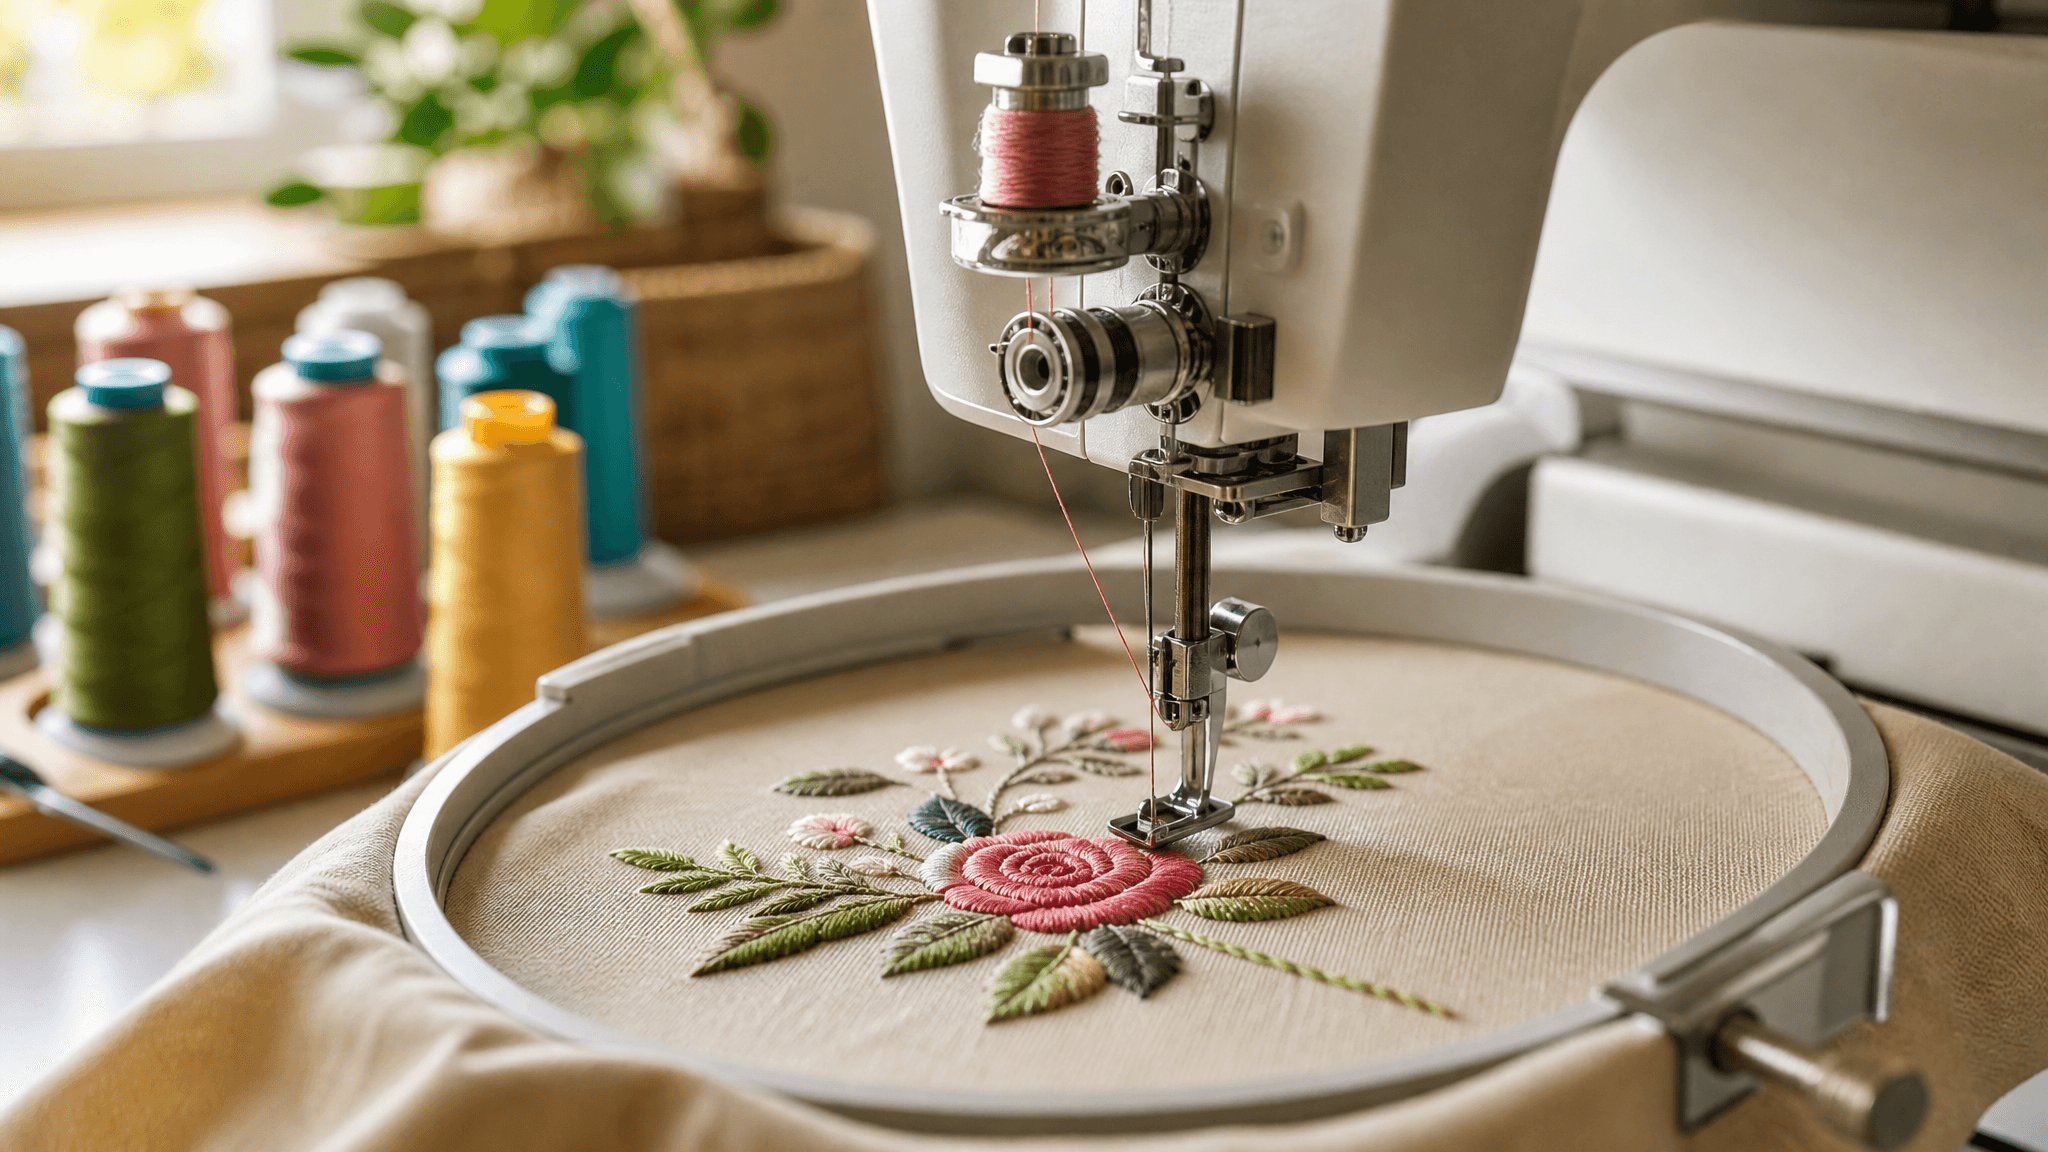
Some beginners hoop only the fabric and slide stabilizer underneath, expecting the stabilizer to “just be there.” This does not work. The stabilizer must be hooped together with the fabric so they move as a single unit during stitching. If the stabilizer floats freely, the fabric can shift independently, causing misalignment and puckering.
The fix: Layer the stabilizer behind the fabric and hoop both together in one step. The stabilizer should extend past the hoop edges by at least half an inch on all sides to ensure full coverage under the embroidery area. For delicate fabrics that cannot handle hoop marks, use temporary adhesive spray to float the fabric on top of a hooped stabilizer — but the stabilizer itself must be hooped firmly.
Mistake 3: Using Too Little Stabilizer (or Too Much)
One layer of lightweight tear-away under a dense 8,000-stitch design on a polo shirt is asking for trouble. The stabilizer collapses under the stitch density, and the design puckers or loses registration. Conversely, using three layers of heavy cut-away under a lightweight cotton handkerchief creates an uncomfortable, stiff result that nobody wants to use.
The fix: Match stabilizer weight to design density. For designs with:
- Under 4,000 stitches on woven fabric: one layer of medium tear-away is usually enough
- 4,000-8,000 stitches: two layers of tear-away or one layer of medium cut-away
- 8,000+ stitches or dense fill areas: heavy cut-away, potentially double-layered
- On stretch fabric regardless of stitch count: cut-away is non-negotiable
Mistake 4: Confusing Stabilizer Types
The embroidery aisle has tear-away, cut-away, wash-away, heat-away, and adhesive-backed versions of each. Here is what each one actually does:
- Tear-away: Removed by tearing the excess after stitching. Leaves a small amount behind in the stitches for support. Best for woven fabrics.
- Cut-away: Trimmed close to the design with scissors, leaving a permanent layer behind the embroidery. Best for stretchy fabrics and items that will be washed frequently.
- Wash-away (water-soluble): Dissolves completely in water. Best for freestanding lace, sheer fabrics, and projects where you want zero stabilizer visible.
- Heat-away: Removed with an iron. Useful for fabrics that cannot get wet or where water-soluble residue would be a problem.
- Adhesive-backed: Has a sticky side that holds fabric in place without hooping. Best for delicate fabrics, leather, and items too small to hoop.
Mistake 5: Not Using a Topper on Textured Fabrics
Embroidering on towels, fleece, corduroy, or any fabric with a nap or pile without a water-soluble topper is a classic beginner mistake. The stitches sink into the nap and disappear, or the nap pokes through the stitches and makes the design look fuzzy and unprofessional.
The fix: Place a sheet of lightweight water-soluble stabilizer on TOP of the fabric before stitching. The needle perforates it, the stitches sit on top of the fabric surface instead of sinking in, and the topper dissolves when you rinse or dab with water after stitching. This is quick, cheap, and transforms the look of embroidery on textured fabrics.
Mistake 6: Ignoring Stabilizer Storage
Stabilizer degrades when exposed to humidity, direct sunlight, or temperature swings. Old stabilizer becomes brittle, loses its adhesive properties, or tears unpredictably during stitching. A roll of stabilizer stored in a garage or sunny craft room window for 6 months may not perform the same as a fresh roll.
The fix: Store stabilizer in a cool, dry, dark place — a closet drawer or plastic storage bin works well. Keep water-soluble stabilizer in an airtight bag — it absorbs moisture from the air and becomes gummy. If tear-away stabilizer tears too easily or unevenly, it has likely absorbed moisture and should be replaced.